
“What is that picture shot on?” Oh, Yes. Many people have asked me this, when I first show them the pictures I have shot using OnePlus 5. Right after I inform them that the photo was shot using a mobile, another question hits me up. “What? How is this even possible? Can you tell me how you shot this?” Okay, so I would answer these questions right here and inform everyone about the Top Tips and Tricks which you can use for Smartphone Photography. Let’s start now.
Identify the opportunity: This is one of the most important thing while taking photos. Imagine that we have a beautiful scenery, right in front of us. But, if we don’t realize that opportunity, we won’t be able to capture it. So, realizing about the opportunity to capture an image at the right time is the first step when shooting photos on mobile.
Use Grids: Using Grids while shooting photos helps a lot to frame the picture perfectly. Not every photo looks good when the subject is at the centre. Sometimes, framing the subject a little to the left or to the right would be much better. (Don’t frame them at the corners, though) Follow the Rule of Thirds (Again, not every time)
Trial and Error: You would probably not get the perfect shot straight away. You might have to try multiple times, with different framing, and different settings (if using Pro Mode)! DON’T GIVE UP!
Selecting the time of the day: So, can you shoot stars in the morning? No, we can’t. (At least, that’s what I know) So, some shots would look good only during a certain time. Shooting Sun during the golden hour completely changes the look and feel of the photo. Also, you can shoot some stars only at the night time.
Shoot in RAW: Almost all the top-end smartphones are capable to shoot the photos in RAW. So, use that amazing capability of your smartphone. They would take up much more of your storage on your smartphone, but it is worth it (100%). The RAW photos will help you in better post-processing of the images. You can get much more control of your photo while editing, if shot in RAW.
Use Pro Mode: Even if you are a beginner, try to use the pro mode. You might mess up the settings the first time you use it. But, after getting used to and understanding how those settings work, you will love to use it.
Use lowest ISO whenever possible: Using lowest ISO, whenever possible, helps in increasing the sharpness of the picture. Also, that helps in reducing the grain on the photo. But, keep in mind that using lower ISO means less light coming in.
Patience: Sometimes, you might not get the shot you want at an instant time. And, that’s where you need to have patience. You might even need to wait for hours to get one perfect shot, because that one perfect moment can be at any time.
Editing: This is the last part of clicking photos. This highly depends on personal preference, and how you would like to tweak your photos. Many times, even unedited pictures look great, but editing them to suit our taste makes them different from the rest. You can show a ton of your creativity in this last step. Some of the applications I use on my mobile, are Snapseed, Photoshop Express, Lightroom and VSCO.
If you want to take it to the next step, then go ahead and edit them on your PC/Laptop using various tools from Photoshop. But, first get up from your seat, and start clicking photos. No one was born, being a professional photographer. They all worked hard to be at the place, they are. So, now stop crying, and start trying.
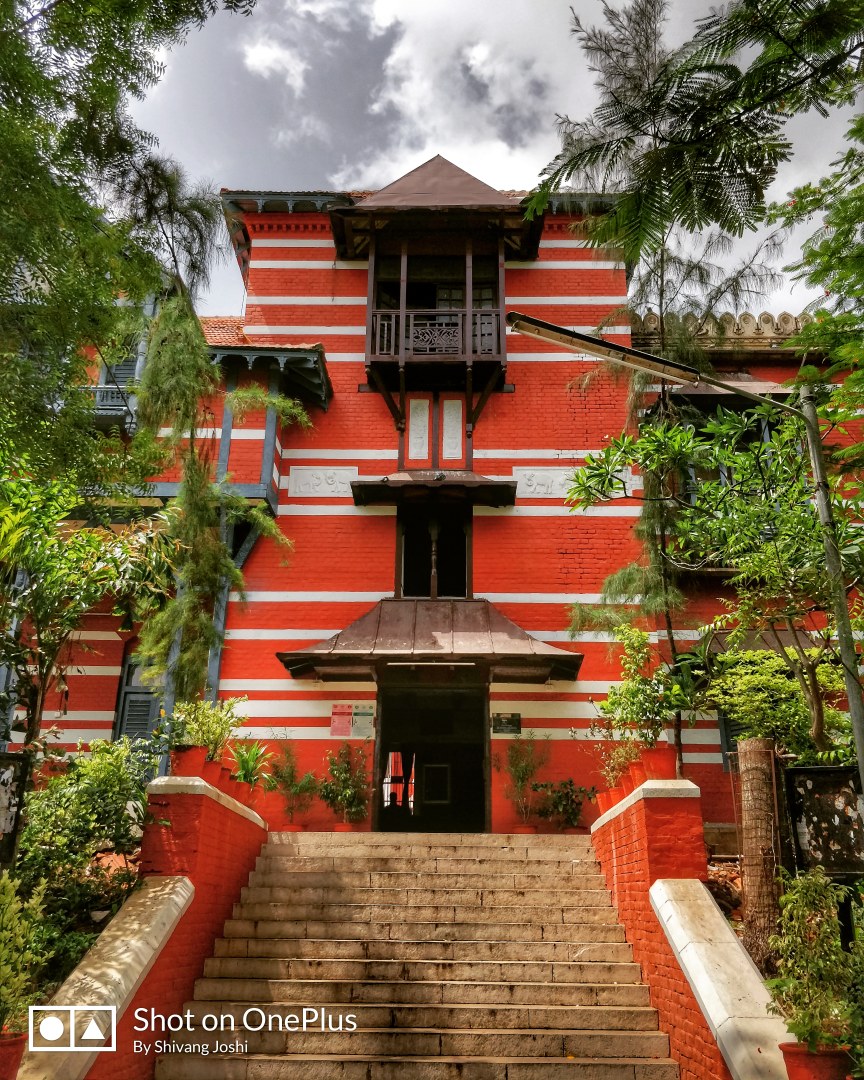
I will share a few sample shots here.


I hope this article about the Top Tips and Tricks for Smartphone Photography helped you quite a bit.


I have been taking photographs for over twenty years. I have had some that have gone viral on social media and I am grateful for the tips this post has given me.